Thursday, December 26, 2013

Wishing you a Merry and Magical Christmas

Hi Everyone
I hope you had a great Christmas yesterday.  I wanted to share a quick gift I made for some of the teachers at my daughters school.  She had about 30 teachers that she wanted to give gifts to so I needed to think of something quick, easy and cheap to give to them all.


Here is what we came up with.   I found this pin on pinterest. 


  And it included the adorable printable to make these.  I sized them down and hand cut them out.  Her teachers loved them.  The containers are portion cups in the 1.25 oz size and then the matching covers.   They were easy and cheap to make. I think I was able to get 13 cups out of each bag of m and m's.

Have a great day.

Saturday, December 14, 2013

Tis the Season Blog Hop

~~**TIS THE SEASON Blog Hop**~~ DAY 3


~~~~ Click HERE for the 300 Blog Follower Giveaway ~~~~
Hello to all of our Pretty Little Peacocks
Welcome to Pinque Peacock’s
DECEMBER BLOG HOP
"TIS THE SEASON"
DAY 3
 photo TistheSeasonBadge2_zps261e4af7.jpg

We hope you will enjoy your time as you hop and that you feel
inspired to create after visiting the Talented Pinquettes' Blogs!
This hop will showcase projects that have been created using some of the
NEW Holiday Inspired Products from Pinque Peacock.
We are thrilled to have you joining us this month!

This release is showcasing some NEW products as well as some products that have been available in the shop for a while. This is a great way to see the Pinque Peacock Products in action and to get your creative imaginations in "Full Speed Ahead" mode!

Our DECEMBER Release will focus on the themes:
.....The Holidays are Upon Us.....
*~* Winter *~*
CHRISTMAS
&
NEW YEAR'S CELEBRATIONS
A wide array of products were created to be able to share
the projects you will see over the course
of this Blog Hop weekend.
All New Products will be added to the SHOP
for you to Purchase and to start creating your very own
Holiday Celebration Masterpieces!!!
Here is a Glimpse at some of the things
you will see incorporated into
the Pinquettes' Artwork:
Festive Christmas Mix
Small Fabric Covered Buttons

Wintery Blues
Beaded Stick Pins

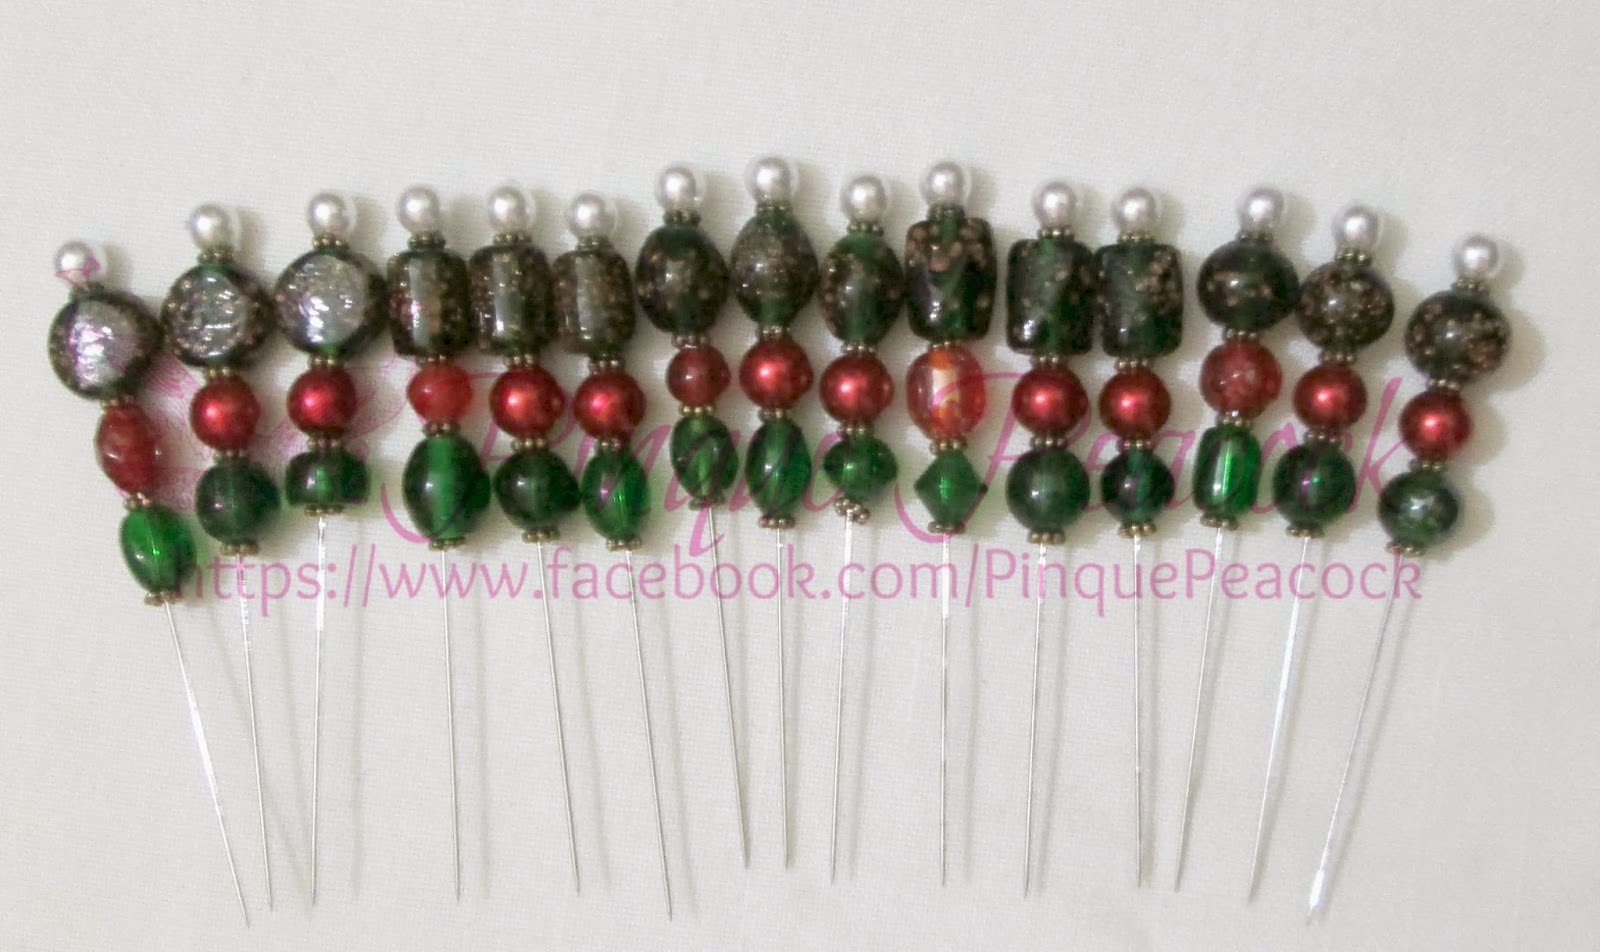
 Christmas Reds and Greens
Beaded Stick Pins
Celebrate the New Year
Beautiful Beaded and Pearl Stick Pins

Large Fabric Covered Buttons
in an array of Festive Colors

BE SURE TO WATCH
THE FACEBOOK PAGE
FOR MORE PRODUCT SHOWCASES

Are you Ready to See these products IN ACTION?
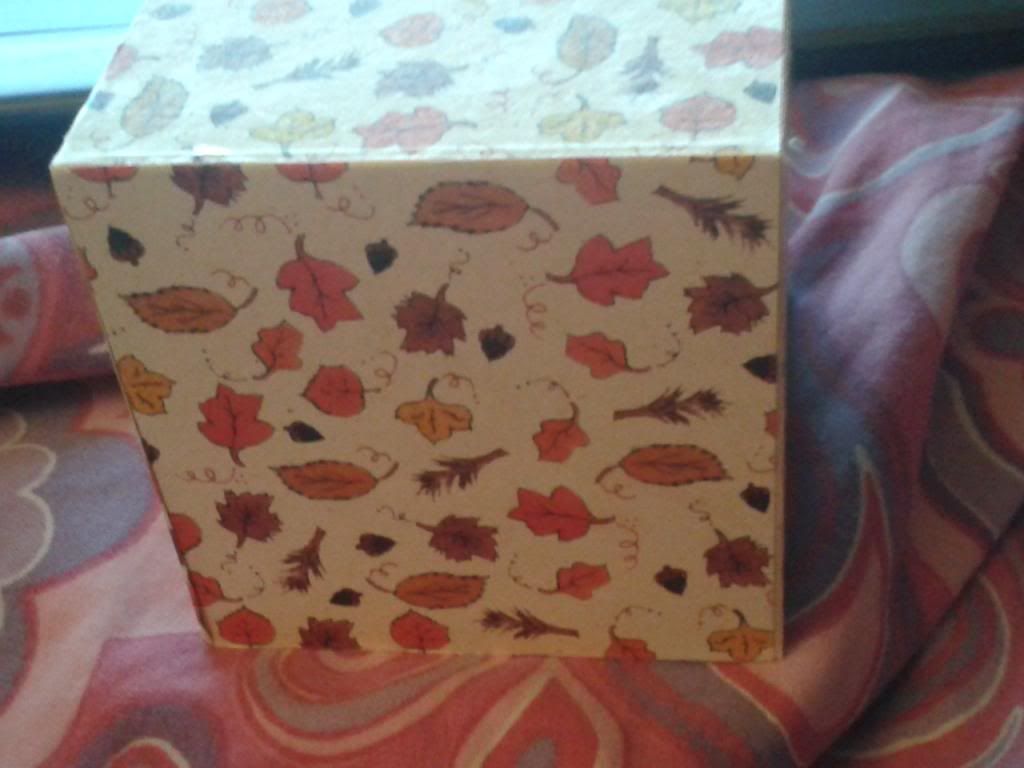
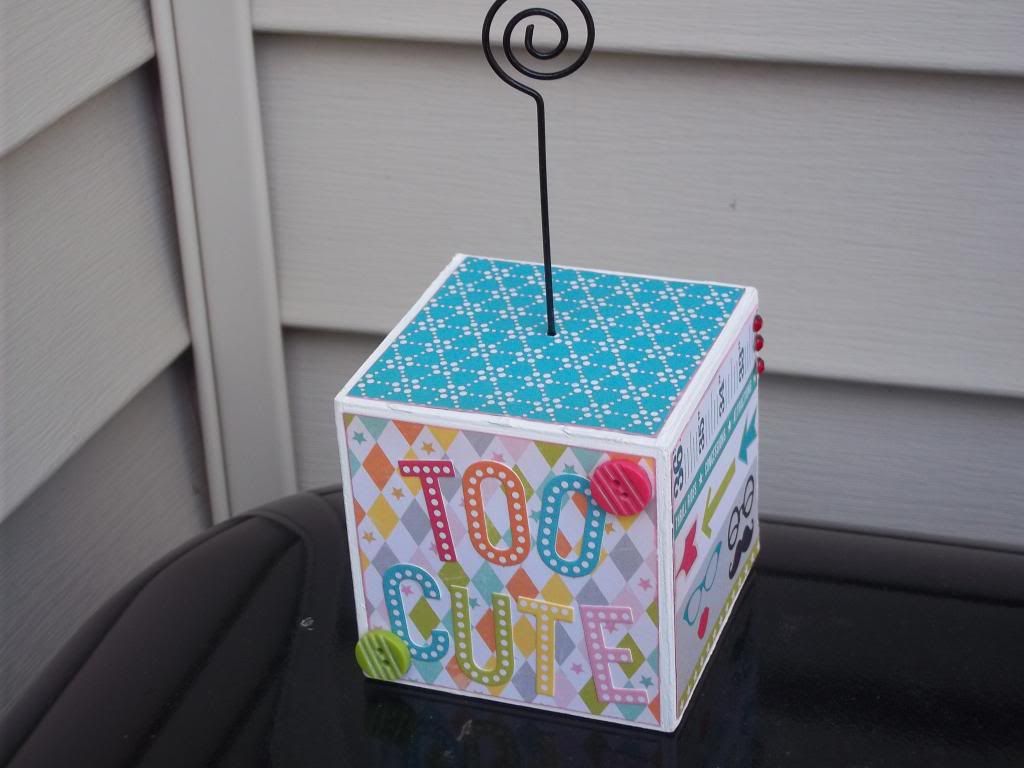
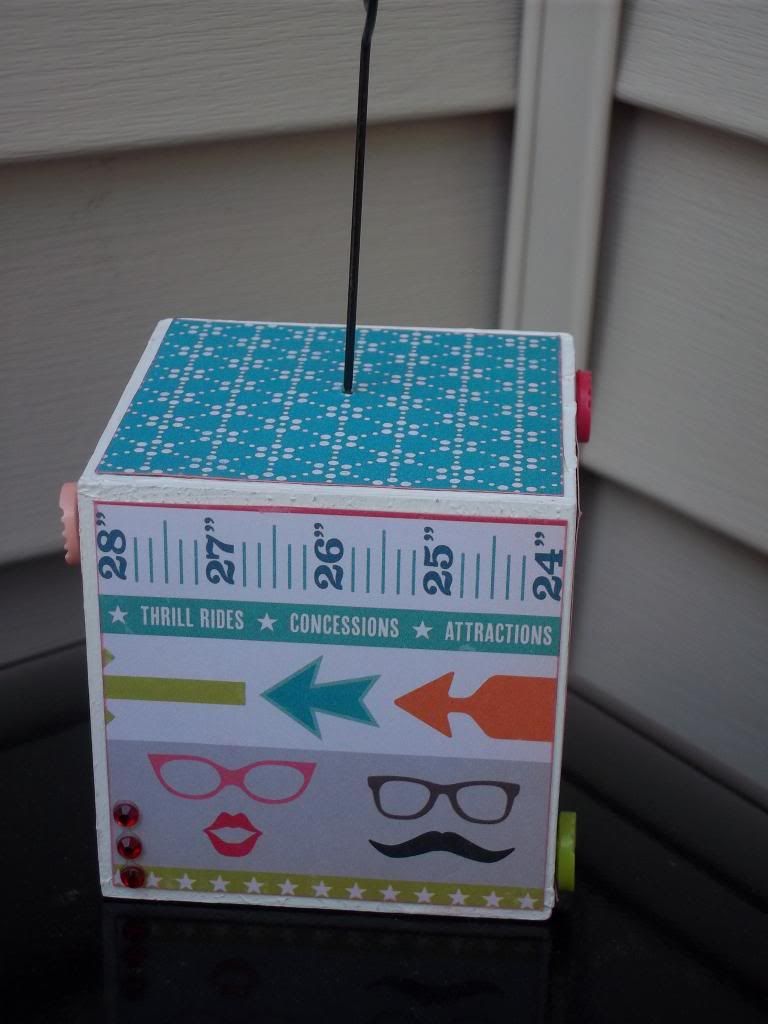
If you are hopping on over from Pinque Peacock you are in the right place, if not head on over to Pinque Peacock to start the day off right.  I of course altered something. I don't know why buy lately I look for stuff to alter. This project started out as a spicy trail mix container...LOL I think my husband thinks I'm crazy keeping his trash.
 So the container was sort of like a mini pringles container and I just wiped it out really well. I got these papers in a Christmas stack at Michaels.  The cover I used a scallop punch and then a circle punch to decorate it.  The container part I covered and then chalked the edges of the candy cane striped piece. I thought that paper was perfect to go with the candy canes in the flower.
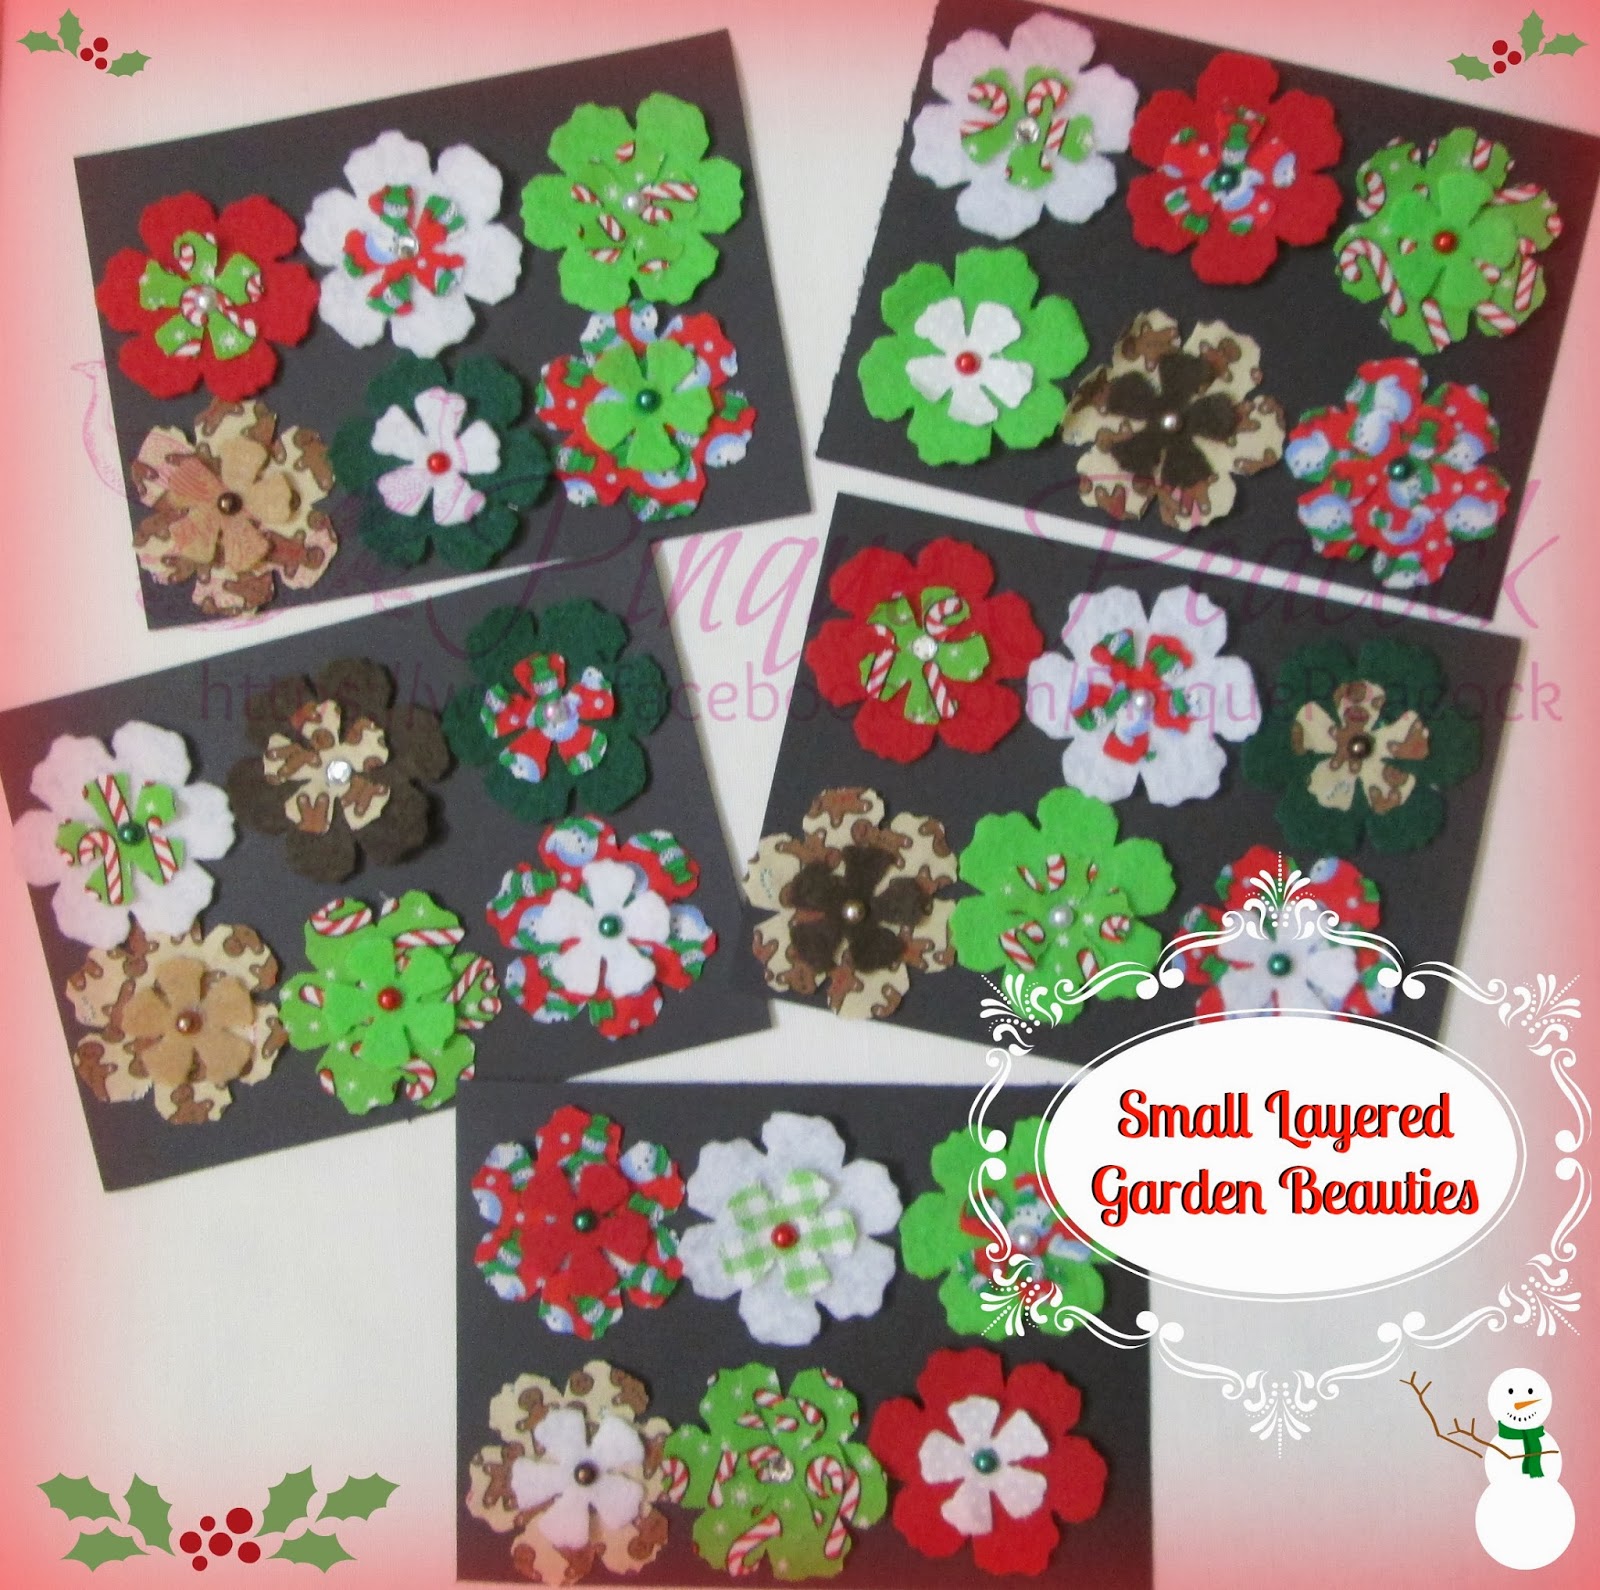
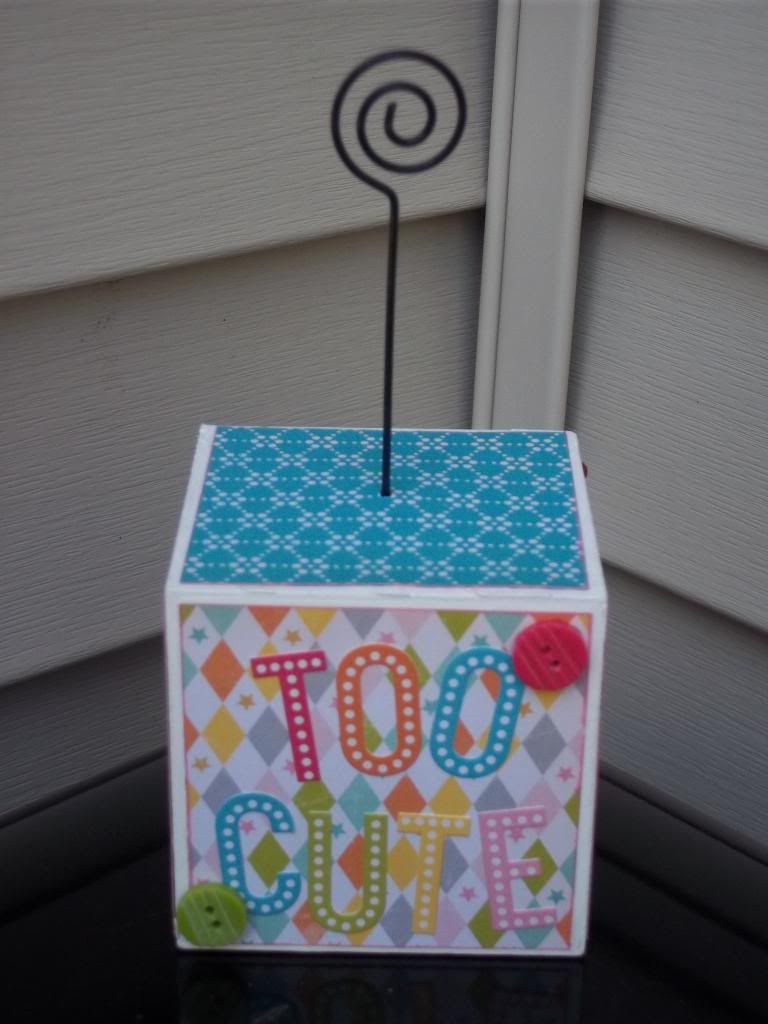
 Here is a close up of my layered garden beauty and my cool bow. :) The bow is a 4 loop bow. I tied it normally then I did a second bow right on top from the long tails. I hope that makes sense. I thought it was a cool way to give a background to the flower. 
 I used a punch to make the mini tag and then I got the sentiment from Stampin up way back in the 90's LOL They were my sisters back in the day.  The ink was from Ranger.  That was it. I hope you like it. Don't forget to hop over to Miranda. If you get lost the whole hop is listed below. 

Also I am entering this into a few challenges.
Paper Playtime Winter Fun
My Craft Spot Neighbor Gifts

After hopping, be sure to visit the Pinque Peacock Shop on FB to
order these items (and many others) to use on your very own projects!

!!!!Now, let's talk about the
BLOG HOP PRIZE!!!!
One winner, who has hopped all 3 days (Friday, Saturday, and Sunday) of our Pinque Peacock DECEMBER Product Release and followed the RULES BELOW will win

A $10 GIFT CERTIFICATE TO THE SHOP

Here is How*:
1 – Hop to ALL of the stops over the course of the 3 Day Hop and comment at each Pinquette Blog (Lineup for all 3 Days is below)
2 – Follow the Pinque Peacock Blog and Facebook Page/Shop
3 – Follow EACH of the Pinquettes’ Personal Blogs who are participating as Hop Stops this weekend.


4 - COMMENT at the Facebook Page telling us what you liked most about the 3 Day Hop
*You MUST do ALL of the steps above
to be included in the random drawing for the prize.
We would hate for you to lose out on winning just because you didn't follow these easy rules :(
The Hop will remain open until Wednesday, DECEMBER 18th, at 8:00 a.m. EST.
The random drawing will be held sometime during the week that follows and announced by Wednesday, DECEMBER 25th.
Now, if you find yourself Hopping off the Path on any of the three days, you can use this Lineup to get back on the Right Track . . .

DAY 1 (12/13/13):
Pinque Peacock ~ http://pinquepeacock.blogspot.com
Susie ~ http://scrappyrandomness.blogspot.com/
Laura ~ http://www.lauraleesdream.blogspot.com
Julie ~ http://muddypawsinkyfingers.blogspot.com 
Lisa ~ http://mycraftyspaces.blogspot.com/

*****

DAY 2 (12/14/13):

DAY 3 (12/15/13):
Thank You for hopping along and we hope you have Loads of Fun!
Peacock Love
and
Crafty Hugs
~ Jessica, The Quirky Queen
and
her BELOVED,
TALENTED, &
EXTRAORDINARY Pinquettes

Friday, December 13, 2013

Brr Time for snowman soup

Hi Everyone,
I don't know about your part of the country but here it is freezing cold!  -30 with windchill at times. I wanted to make a gift for my co-teacher at church and the cold weather was the perfect excuse for snowman soup.

I used a peanut butter jar for the base of it. Then I layered in some hot chocolate, mini marshmallows and crushed candy canes.  I took a strip of paper and wrapped it around the jar, then the snowman was on a piece of scrapbook paper and I just cut around it and adhered it on.  For the cover I used a punch and then added the stickers to spell out snowman soup

It was a super easy project and it only took about 20 minutes start to finish. Which was great cause I spent most of my time making the angel kisses jar. LOL  My co-teacher loved it.

I am entering this into My Craft Spot Neighbor gifts.

Wednesday, December 11, 2013

Angel Kisses

Hi and Happy Thursday!
It is my Design Team day over at Pinque Peacock. It worked out perfectly cause I knew I wanted to make something cute for Princess Buttercup's religon teacher.


So this jar started out as a vitamin bottle. I cleaned it out and scrubbed it and then it took a while but I got all the old label off.  The papers are from a Michaels Christmas stack. I used a border punch on the green papers. Then I chalked all the edges in red.   I wrapped the center with some red and green ribbon. The star was from a Michaels grab bag it was actually attached to a mini clothes pin but I ripped it off... LOL  I added a Pinque Peacock Angel pin. You can find them here.  Here is a close up of the angel.

 For the tag I used my cricut and I can't remember the cartridge but I cut 2 circles out of 2 different papers, ran them through the xyron added some Doodlebug twine and made my tag. I added the angel kisses with silver stickers.


Finally I cut a circle for the top of the jar out of the green snowflake papers.  Then of course I had to fill it with kisses :)

I am also entering this in a few challenges.
Pumpkin Spice- use tags
Die Cuttin Divas- tag it
My Craft Spot-Neighbor Gift
3Girl Jam Holiday with Ribbon
Craftin Desert Divas- Christmas

Have a great day and don't forget the Pinque Peacock blog hop this weekend.

Saturday, November 30, 2013

Go ahead and laugh mini clipboard

Hi!
I can't believe it is the last day of November. Time is just flying by lately. Well I wanted to share a treat stick with you.  I am using it to throw my hat into the ring for  Mae Sunshine Designs who is having a design team call.
This was really hard I just wasn't sure what I wanted to create. So, I went digging through this bin and I found the parts to make this.


 I got the clipboard part at Archivers. I know it was on clearace I think I paid about $.75 for it. I used quick dry ink chalk for the edges and then covered it in paper. I have had the paper for years and kind of forgot about it.  I adhered the paper down and then trimmed and sanded it.  Then I reinked the edges.  I cut the another pattern for the square and inked that as well.  I added a fun stamp that says " Go ahead and laugh" One thing I love about stamps is you can bend them.


 I just curved it slightly while putting it on my clear block, added my ink and stamped right on it.   The final touch was some ribbon since I didn't have seam binding.


Check out the Mae Sunshine blog here.

Tuesday, November 19, 2013

Give Thanks Jar

Hi Everyone! Happy Tuesday!  I am so excited to bring you a cute little recycled project today.  I wanted to do a little something for the teacher that I teach religon classes with. She is so nice and we have so much fun in class.  I saw this empty peanut butter jar on the counter and I turned it into this....

All the papers are from Doodlebug Designs the new Happy Harvest collection.  The cover I cut a strip3/4x10 and wrapped it around the cover and then traced the cover and hand cut out the top part. The papers around the middle are cut at 3x10.5 and 2x10.5 The picture in the middle, and sentiment flag  Doodlebug stickers. I stuck the flag to the picture and then used baby powder to make it unsticky.    I added some Doodlebug sprinkles to the sticker. I also used some Doodlebug twine. Finally the crowning glory of the project a fabric popper by Pinque Peacock.


Here is the close up of the popper.

I love how it is just a perfect match for the project. Then I just added my kisses and it is ready to go. I will give it to her tomorrow.  Hope she likes it ;)


Enjoy your day.

Wednesday, November 13, 2013

An altered jar for Pinque Peacock

Happy Hump Day Everyone!   It is my day to post at Pinque Peacock. I know I am totally ready for the weekend already.  Lately I feel like my mojo went on vacation and forgot to come back...LOL. I made a few things, but I totally not digging how they came out. So, here's to hoping my mojo returns from vacation soon. Anyway, onto my project.


I decided i needed to alter this jar. It told me it wanted to get dressed up LOL
So. I took some twine and wrapped it around the center. I added some live,laugh, love ribbon from my stash.  Then I added my Splendid Swirl.


 Now here is another thing I love about Pinque Peacock Pinquettes. I posted a picture of this part way done and I knew it needed something but I couldn't figure out what. I stared at this jar for 2 days. They suggested the heart and then my sister suggested a little glitter. So the heart center is a charm and I just slipped the loop part under a fold of the Splendid Swirl and then cut up a strip of bling into individuals and stuck them on.  I hope you like it too. Have a great Hump Day!!

Friday, November 8, 2013

Pinque Peacock Holiday Celebrations Hop.

~~~~ Click HERE for the 300 Blog Follower Giveaway ~~~~


Hello to all of our Pretty Little Peacocks

Welcome to Pinque Peacock’s
NOVEMBER BLOG HOP
Day #2

"HOLIDAY CELEBRATION"
We hope you will enjoy your time as you hop and that you feel
inspired to create after visiting the Talented Pinquettes' Blogs!
This hop will showcase projects that have been created using some of the
NEW Holiday Inspired Products from Pinque Peacock.

We are thrilled to have you joining us this month!

This release is showcasing some NEW products as well as some products that have been available in the shop for a while. This is a great way to see the Pinque Peacock Products in action and to get your creative imaginations in "Full Speed Ahead" mode!

Our NOVEMBER Release will focus on the themes:
.....The Holidays are Upon Us.....
*~* Winter *~*
&
CHRISTMAS

A wide array of products were created to be able to share
the projects you will see over the course
of this Blog Hop weekend.


All New Products will be added to the SHOP
for you to Purchase and start creating your very own
Holiday Celebration Masterpieces!!!

Here is a Glimpse at some of the things
you will see incorporated into
the Pinquettes' Artwork:


AND HERE ARE
SOME OTHER ITEMS
THAT WILL BE AVAILABLE
WITH THIS NEW RELEASE


BE SURE TO WATCH
THE FACEBOOK PAGE
FOR MORE PRODUCT SHOWCASES

Are you Ready to See these products IN ACTION?


If you are hopping over from Paula, then you are in the right place. If not head back to Pinque Peacock to start at the beginning of the hop.

So I have a little memo board to share with you...


I used a piece of metal for the back of the hanger. Then I covered it in some paper, I used my atg to adhere it. Red felt poppers are attached to my magnets. Then in the corner is a beaded stick pin, I made using beads from the Bead Buffet and then the final touch was a white Splendid Swirl.

I took a few pictures of it, so here it is on a white background.
 

I hope you enjoyed and then you need to hop off to Mary.


After hopping, be sure to visit the Pinque Peacock Shop on FB to order these items (and many others) to use on your very own projects!


!!!!Now, let's talk about the
BLOG HOP PRIZE!!!!
One winner, who has hopped all 3 days (Friday, Saturday, and Sunday) of our Pinque Peacock NOVEMBER Product Release and followed the RULES BELOW will win

A $10 GIFT CERTIFICATE TO THE SHOP


Here is How*:

1 – Hop to ALL of the stops over the course of the 3 Day Hop and comment at each Pinquette Blog (Lineup for all 3 Days is below)


3 – Follow EACH of the Pinquettes’ Personal Blogs who are participating as Hop Stops this weekend.


4 - COMMENT at the Facebook Page telling us what you liked most about the 3 Day Hop

*You MUST do ALL of the steps above
to be included in the random drawing for the prize.
We would hate for you to lose out on winning just because you didn't follow these easy rules :(

The Hop will remain open until Wednesday, NOVEMBER 13th, at 8:00 a.m. EST.
The random drawing will be held sometime during the week that follows and announced by Wednesday, NOVEMBER 20th.

Now, if you find yourself Hopping off the Path on any of the three days, you can use this Lineup to get back on the Right Track . . .

DAY 1 (11/8/13):

Wednesday, October 30, 2013

jack-o-lantern cups

I can't believe it is almost halloween. The time is flying. In a few days I will start sharing all the parts of my daughters costume. I need to take some pics, but I don't have a cute project for you today.

I saw these faces at Archivers the are 12 in a pack and as soon as I saw them I knew I had to find some orange cups.

So I got the cup at Dollar Tree and then I added the face and the little bow. The bow is ribbon that I got at Target in the dollar section about 5 years ago.  We gave this to her teacher and then a teacher she had a few years ago.  The only negative, sort of, about these is they aren't vinyl they are clings. Which is good because you can take them off to wash the cup and use the cup after halloween. But I had thought they were vinyl when I bought them.  It would be fun to cut these out of vinyl but that is something I haven't ventured into yet :D I taped the cling back to the bottom of the cup so they had to put the face back on.


I am entering this into the 3 Girl Jam Challenge anything Halloween with ribbon.

Hope you like them.
Have a great and safe halloween.


Friday, October 25, 2013

Mickey Birthday door hanger

I am trying to post projects that I sort of forgot to post. This was joint project I did the cuts on the Cricut but my BFF did the assembly and printing on the computer.  My BFF found this idea on pinterest.

The letters were cut from zoo day at 1 inch except the 1 was at 2 inches I believe. The mouse head I did fit to page and I cut 2 of them and then just cut the red one in half for the bottom of mickey.  I made all the letters into sticker with my xyron x sticker maker.  I also have the birthday party invites to share, but I didn't get an invitation so I have to find out if she took a picture of it for me. LOL

Wednesday, October 16, 2013

Whoo loves you bag.

Hi Everyone. I hope you had a fabulous weekend. I have a cute sewing project to share with you today. A few months ago Marji my Pinque Peacock design sister shared this cup on her facebook.

Isn't this amazing!?  Well I sent her a message about buying and and she told me I just had to make something for her.  So she sent me this gorgeous cup and I sent her....


She loves owls so I found all this fabric at Joanns and created this. I used my big shot and the scalloped square die to cut the fabric.  The handles are ribbon.

It is a pretty easy bag to create as long as your sewing machine cooperates.LOL
 You can find the instructions to make the bag here.

Hope you like it, have a great day.

Monday, October 14, 2013

Too Cute Picture Holder

Hello :)
I have a cute altered project to share with you today. A few weeks ago my church had its fall festival and I happened to see these cube photo holders. The person who donated them had covered them with paper, and they were only marked $.25 so I bought all 3 of them knowing that I was going to be redoing them.

So here is the before. I had already taken the swirly part out before I thought of taking the picture.


 photo 2013-10-13183550_zps0ba3efc3.jpg

Here is the after...

 photo 007_zpsa5645d44.jpg

I took all the paper off and then did some light sanding since I couldn't get all the paper and glue off. I painted the whole thing white including the bottom. I did 2 coats.  All the papers are October Afternoon the Midway Collection. I used Tilt a Whirl, Cotton Candy, and Duck Pond. I cut 6 pieces of paper and then inked the edges with a chalk ink.  I adhered everything with my ATG. The words are October Afternoon stickers from the Midway Collection, too. Then I added some October Afternoon buttons from the 5 and dime collection. 

Here are some close ups.


 photo 006_zps57222e7d.jpg 

  photo 005_zpsf0854e06.jpg 
 photo 004_zps2b4e4ecc.jpg

The top and bottom are the same paper and then 2 of the sides have the same paper with the mustaches, and then the other 2 sides have the words.  It was a simple process but it took a while to get the paper and such off.
I really like the colors of this collection it is so cheerful. I hope you liked it too.


Saturday, October 12, 2013

Pinque Peacock's Fall Spooktacular Blog Hop

~~~~ Click HERE for the 300 Blog Follower Giveaway ~~~~

Hello to all of our Pretty Little Peacocks

Welcome to Pinque Peacock’s
OCTOBER BLOG HOP

"FALL SpOoK-TACULAR"


We  hope you will enjoy your time as you hop and that you feel  inspired to  create after visiting the Talented Pinquettes' Blogs! This   hop will  showcase projects that have been created using some of the FALL and Halloween Inspired Products from Pinque Peacock.
We are thrilled to have you joining us this month!

Our October Release will focus on the theme:
Embracing the Fantastic Natural Hues of FALL and the Fun Filled Images that play "peek-a-boo" during the Halloween Holiday!

A wide array of products were created to be able to share the projects you will see over the course of this Blog Hop weekend.
 All New Products will be added to the SHOP for you to Purchase and start creating your very own Fall Spooktacular Masterpieces!!!

You should have just hopped over from Marji, if not please head to Pinque Peacock to start at the beginning.
Onto my project....

Have you ever heard of "Boo-ing" your neighbors?  I started looking online for Halloween ideas. I saw stuff on booing your neighbors. Basically, you create a present to leave on your neighbors step, along with the instructions on what to do next. After you get boo-ed you go boo someone else and see how far your boos reach.  I thought it sounded like lots of fun so I decided to try and it and boo a neighbor. I am leaving it out tonight and we will see what happens.

I started with a little mason jar.  Then I added the paper to the lid along with some bakers twine and an adorable Pinque Peacock small fabric covered button.  The papers are from a site called Party NV click here if you want the you've been booed link.  I played around with the sizing of the papers and then printed them out. I cut them and backed them with the orange paper to make them pop.  I then added some black stitching.
Here are a few more pics...


I had to fill my jar with candy corn to match the cute candy corn button :)  When you leave me head over to Laura's blog. Before you go...
 let's talk about the
BLOG HOP PRIZE!!!!

One winner, who has hopped all 3 days (Friday, Saturday, and Sunday) of our Pinque Peacock OCTOBER Product Release and followed the RULES BELOW will win

A $10 GIFT CERTIFICATE TO THE SHOP


 See the Pinque Peacock blog for all the details  :)

 
Now,   if you find yourself Hopping off the Path on any of the three    days,  you  can use this Lineup to get back on the Right Track . . .
DAY 1 (10/11/13):

Tuesday, October 8, 2013

The runaway embellishments...LOL


Hi Everyone! I have a project and a crazy story for you.
So I made this project about a month ago. I was so proud of myself. I thought it turned out so adorable.  I added my fabulous  fabric splendid swirl and took my project to my car, because that is where I need it. I used it a few times and then the next time I looked my splendid swirl had fallen off!!


 So I was going crazy. I tore my entire car apart, and couldn't find it. I double checked my car and then triple checked it. Couldn't find it anywhere. Well guess what I found it! In my house. I have no idea what happened but I found it in my nightstand next to the bed. I have no memory of bringing it inside.

Just shows how crazy I am... LOL I hope you find my
insanity funny and you enjoy the project.


I started with a composition notebook, and then I covered it and inked the edges. Then to cover the binding I used washi tape, I know it is from Archiver's but I don't remember the brand. Then I added my next layer of paper and used Liquid Pearls to go around the outside edge. The letters are stickers from October Afternoon. I inked the edges in Old Olive. Finally I added that pesky wandering
Fabric Splendid Swirl and I attached it with hot glue and it finally stayed attached. woohoo!!
 Check out all the amazing splendid swirls at PINQUE PEACOCK.


Have a great rest of your day.